Photos for September 7, 2003
Replica Engine First Start-Up on Airframe
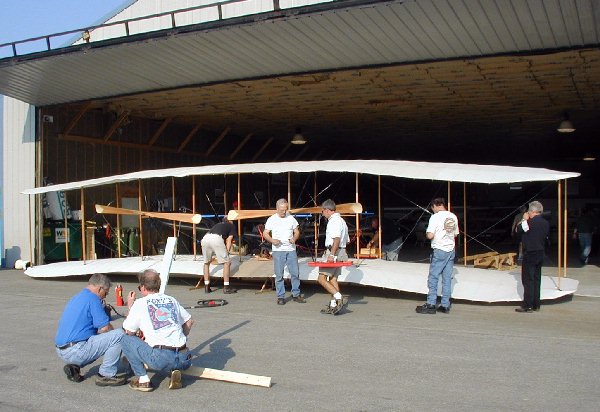
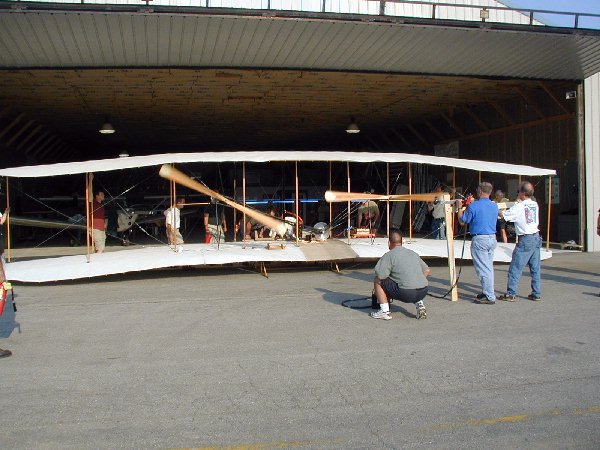
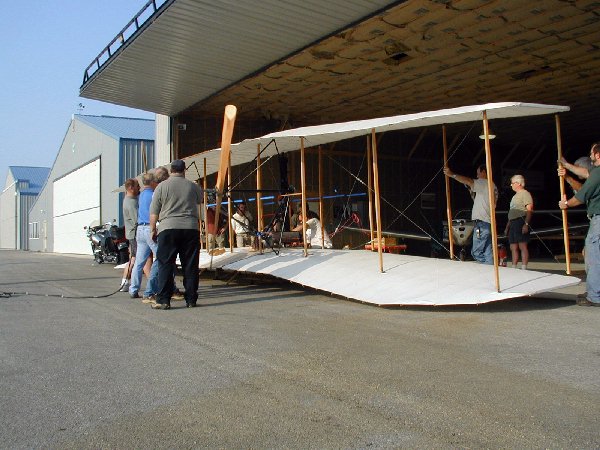
Back to Photo Gallery page.Wright Redux and Packer Wings crews start the replica engine on the airframe for the first time. The marriage was successful but for a minor glitch.
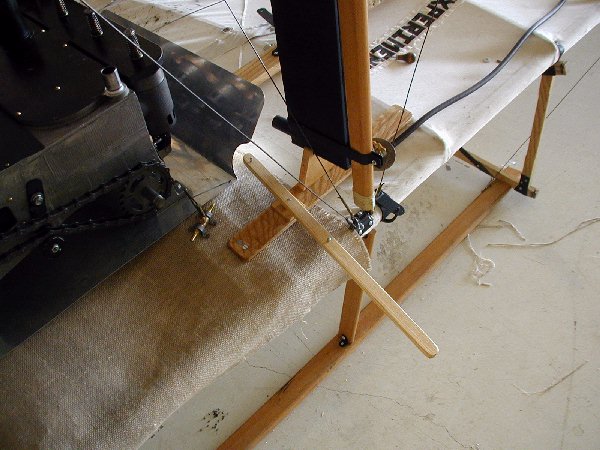
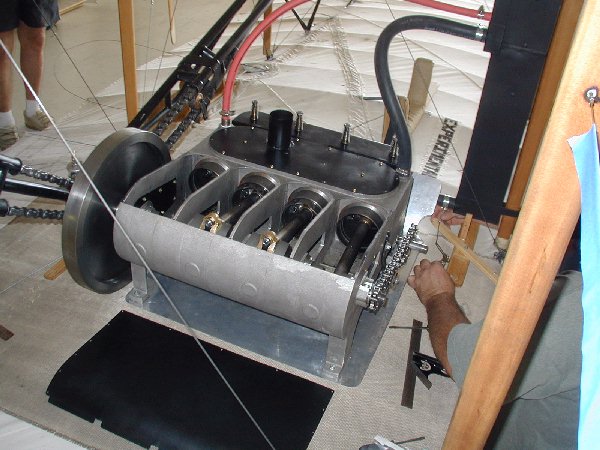
The replica engine was mounted this weekend onto its permanent home atop the lower wing of the Flyer. For the sake of safety we decided to apply, onto the wing fabric, a flame retardant material beneath the engine. In addition a sheet metal shield was added for protection not only to the airframe but to deflect the exhaust blast away from the pilot. The blast shield caused us to reroute one of the water cooling hoses in a different location. And water was added to the system by way of the Flyer's radiator (more like a water tank).
Much discussion was given to how we would start the Flyer's engine. One side of the house wanted to just hand start the props. The other side said that was much too dangerous and an alternative had to be found. Enter a pair of men who run race cars. (My apologies to them for not getting their names.) They brought in an externally applied, battery operated engine starter they use to start their race cars.
- Plug it in. - Insert coupling. - Press start button. - Turn over engine. In our case it would be applied to the prop hub.
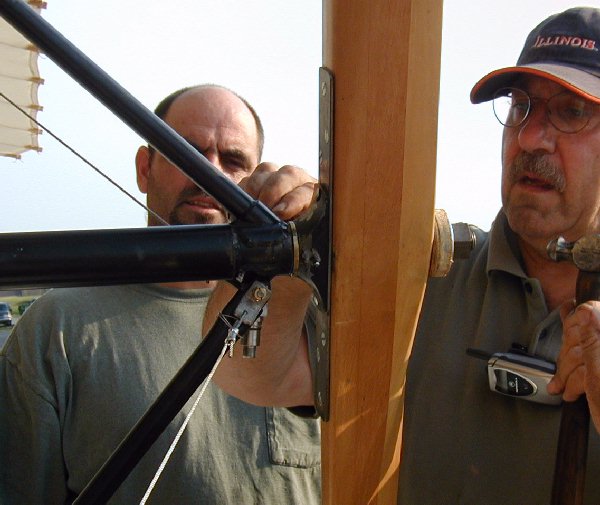
The theory was great but we needed the proper coupling. Turk Tilev made a few measurements and ran off to his machine shop to fabricate the needed part. Within hours he returned with the perfect tool for the job. While he was gone our new best friends (the race car guys) mounted their starter motor onto a couple of two-by-fours. They needed the starter to be held at just the right height to apply the coupling onto the prop hub and to support the weight of the starter assembly. The Flyer's engine start-up problem was solved.
We discussed our start-up procedure and who would be where doing what job. Then we did a dry run, which looked more like a pit-crew choreography.
Confident that we were ready, the coupling and starter assembly were applied to the prop hub, and the start button pressed. The props were spun at just the right speed as the engine coughed to life. How wonderful it was to hear that beautiful replica engine come alive. It ran smoothly with the tone of an antique tractor engine that only a gearhead could appreciate. We all yelled for joy!
Within about a minute of operation the spotters frantically motioned to shut it down. The right prop was out of sync with the left one. It was running slower. When all had stopped moving, we discovered the pin holding the prop onto the propshaft had sheared in two. It was a bittersweet moment.
I'll bet Orville and Wilbur had days like this.
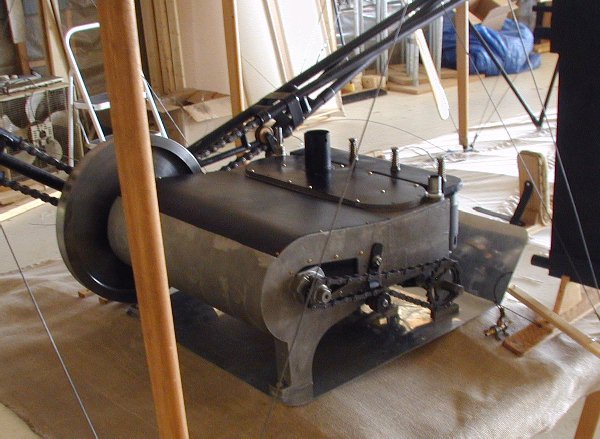
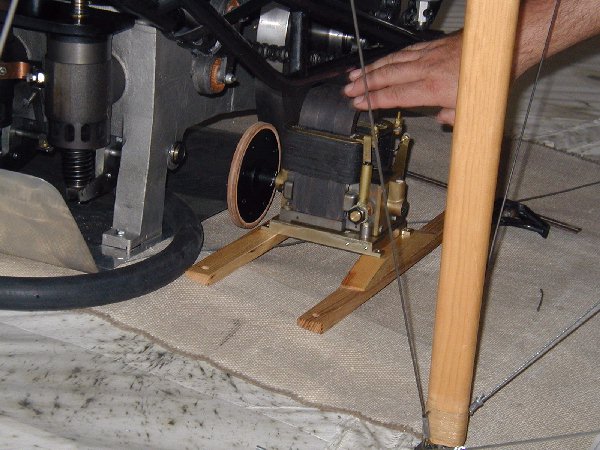
1. The engine is mounted onto fire-resistant fabric with a sheetmetal blast shield in between.
2. The shield is notched to accommodate the control lever.
3. The fuel shut-off valve is mounted next to the control lever.
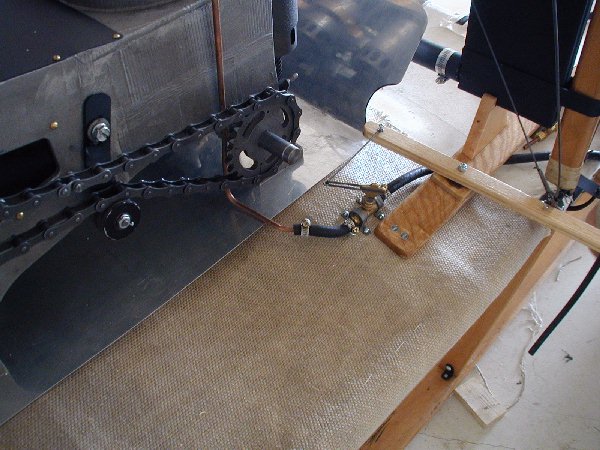
4. The magneto is mounted next to the flywheel.
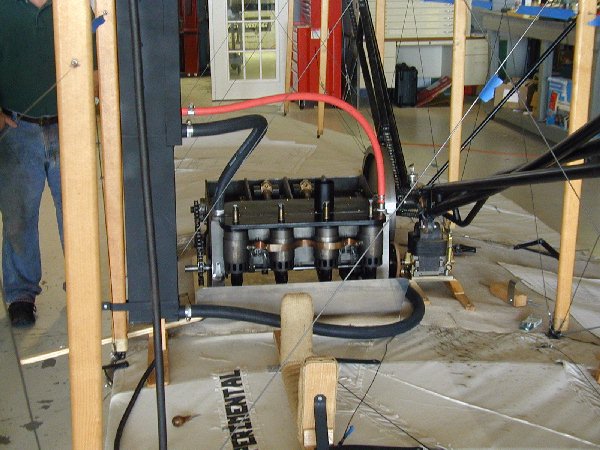
5. Water hoses are secured in place from engine to water tank... radiator.
6. One of the hoses had to be rerouted around the blast shield.

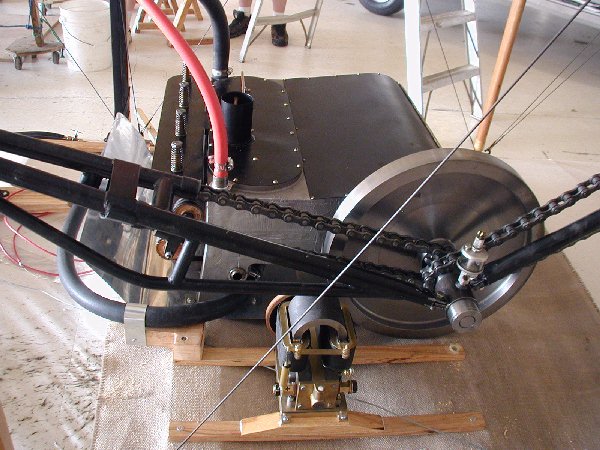
7. The magneto is wired and chain tension checked.
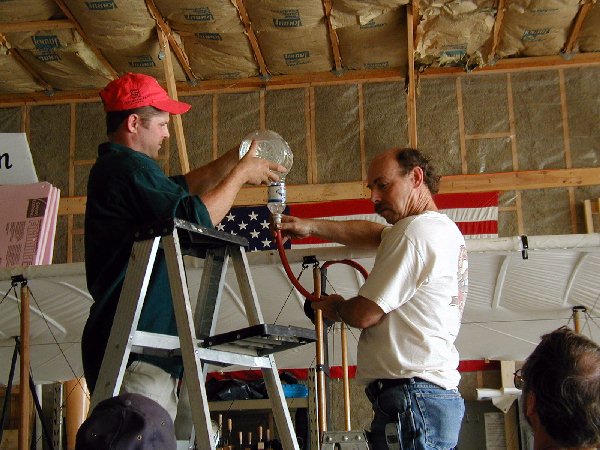
8. Ken Kirincic and Bill Mumford add water to the water tank. (I wonder if the boys had a step ladder out on the dunes in 1903.)
9. John Nowicki removes the engine cover to lubricate the insides. There is no oil tank or pump.
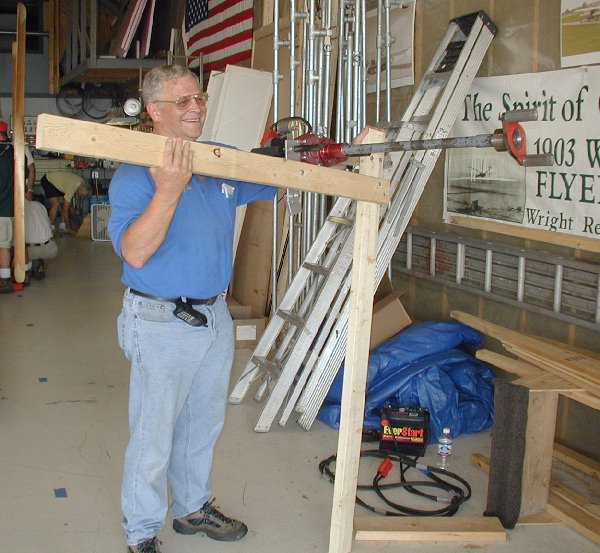
10. Our new friend (race car guy) demonstrates his 2x4 mounted engine starter. Notice the end of the shaft is joined by Turk's fabricated coupling.
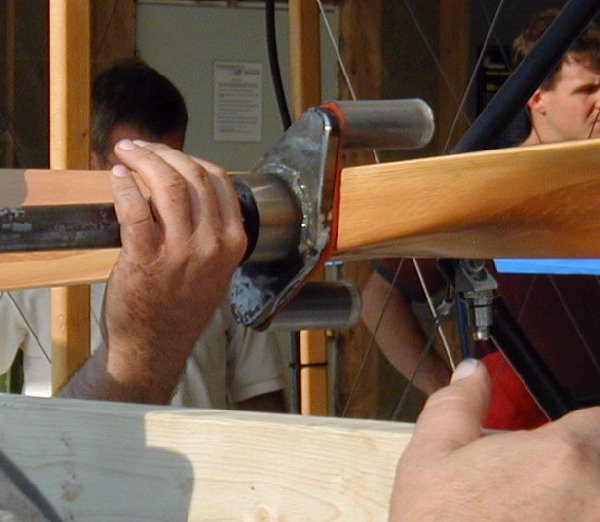
11. The starter coupling is placed up to the prop hub.
12. Final preparations are made prior to start-up.
13. The engine is started, the props are turning and everyone cheers… then we notice the props are not in sync.
14. Mark and Turk examine the propshaft and discover the sheared pin.
15. A disappointment to be sure, but all in all another step closer to our goal.